Showing posts with label lego. Show all posts

Saturday, 18 June 2016

Some Building Tips. (With a proper post)

So I’ m going to do something slightly different today, I am planning to show you some tips for when it comes to making models stand out , look interesting . I will also show a build that showcases all these quality’s and point the our along the way.

INTEREST- The most important thing for your models interest, that’s not just making them have cool settings, but the whole model right down to the small things like walls.

The smaller the detail for me then it is the most important, So with things like computers making them small and compact is obvious but using a variety of printed plates, coloured studs really bring the model or computer to life, Here is an example of a computer build for part of my star wars Star Destroyer (I will show the ship at the end) The computer desk is quite simple but with a screen build off form the wall, it works quiet effectively.


 Another key part is the bigger details, like walls they are big and require a lot of pieces, so not a lot of smaller pieces are built in, which removes the possibility of detail. But say if you where to make a wall starting with a dark grey base , the added plates along the wall and then went back to dark grey, you have added visual interest. In the photo here I show this quite clearly except it is towards the ceiling.
Also colour is really important the models, if are built to look amazing should be colour coordinated.

  We now have ACCESSIBILITY, This area is quite cool because if you are building a multiple story building (Shown here) Then having SNOT plates on the top of each story is quite important because being able to pull off layers of the building is a really useful design aspect, this means that building interiors or just playing with your models is so much easier because you can take the other levels off.

To build this kind of building/aspect you need to get lots of SNOT tiles and position the along the top of the roof along with normal plates. (Shown here). Also to make access easier consider not building complete walls, with sides taken out.  

Saving pieces is quiet hard and I often find that I cannot finish a build due to not having enough pieces, My solution to that is quite simple and that is using bigger pieces that add detail and interest to the wall, while don’t actually have anything key to the build, although they bring visual interest and save pieces.

This technique here shows slopes in the wall, creating something nice to look at despite is cold dark colours, the slopes themselves are very common in my Lego collection and I had no trouble finding enough for all the walls in my build.
Adding lights to the build is quite a nice way to show that my buildings aren’t just cold dark ships, and mostly I just use 1x2 white bricks for them. 

STAR DESTROYER INTERIOR.
This article was inspired by the fact that the build I made this weekend, had heaps of quality’s that I kept seeing and reminding myself about, and finally after I finished it I decided to write about the quality’s and the build itself. Lets see if you can identify all the qualitys in the photos showen.

So the part of the build largely focuses on the prison cells, which only has two cells, but the prisoners are top priority captives, one being a mandalorian smuggler who would be a asset that if under employment of the alliance then would be devastating to the empire as he would smuggle food and supplies that the alliance would use to fuel the war effort, and the other captive is a alliance general, who I have used for my stories and or blog posts before.


The room outside of the cells shows two first order on guard duty, surrounded by supplies taken from both captives, The computer in the corner, is much like the one I mentioned earlier.


Moving upstairs we have a technician monitoring the computers with a wall showing the usual techniques for saving pieces. The ramp down to the main floor doesn’t serve much purpose but it helps with the story telling, explaining how the characters would get up to the room.


The other rooms are just boring areas to make the model bigger and look more impressive again they showcase running out of pieces. 

So that’s all for today, I hope you enjoyed the model and please let me know if you think I missed any important building steps in the comments. And finalllt lets see if you can spot the easter egg hidden in one of the photos, comment where it is if you have found it.

Thanks for reading.
Jayzien.


Sunday, 8 May 2016

The Dragons That almost was featured before


Dragons that are familiar some how?...


So Dragons seem to be a pretty common thing here,  but there still cool and I am right back at ya with guess what another Dragon!


This Dragon is WAY... cooler than the last dragon, but there are a few similarities (I used the same wings and properly similar pieces.This photo here shows a view from the dragon's back which has a pretty fabulous tail if you ask me.


The other photo (head) is also really cool and it took ages to build with difficult piece positioning.
So that's is for now.
Please comment for more posts like this one.

Jayzen.

Sunday, 19 January 2014

MANDA AND JAYZIEN'S EPIC CASTLE


Over the holidays me and my mum have been building a LEGO castle. There are 7 mini-figs in this build 2 knits, 2 archers and 2 sword people.

THE GOOD GUYS.
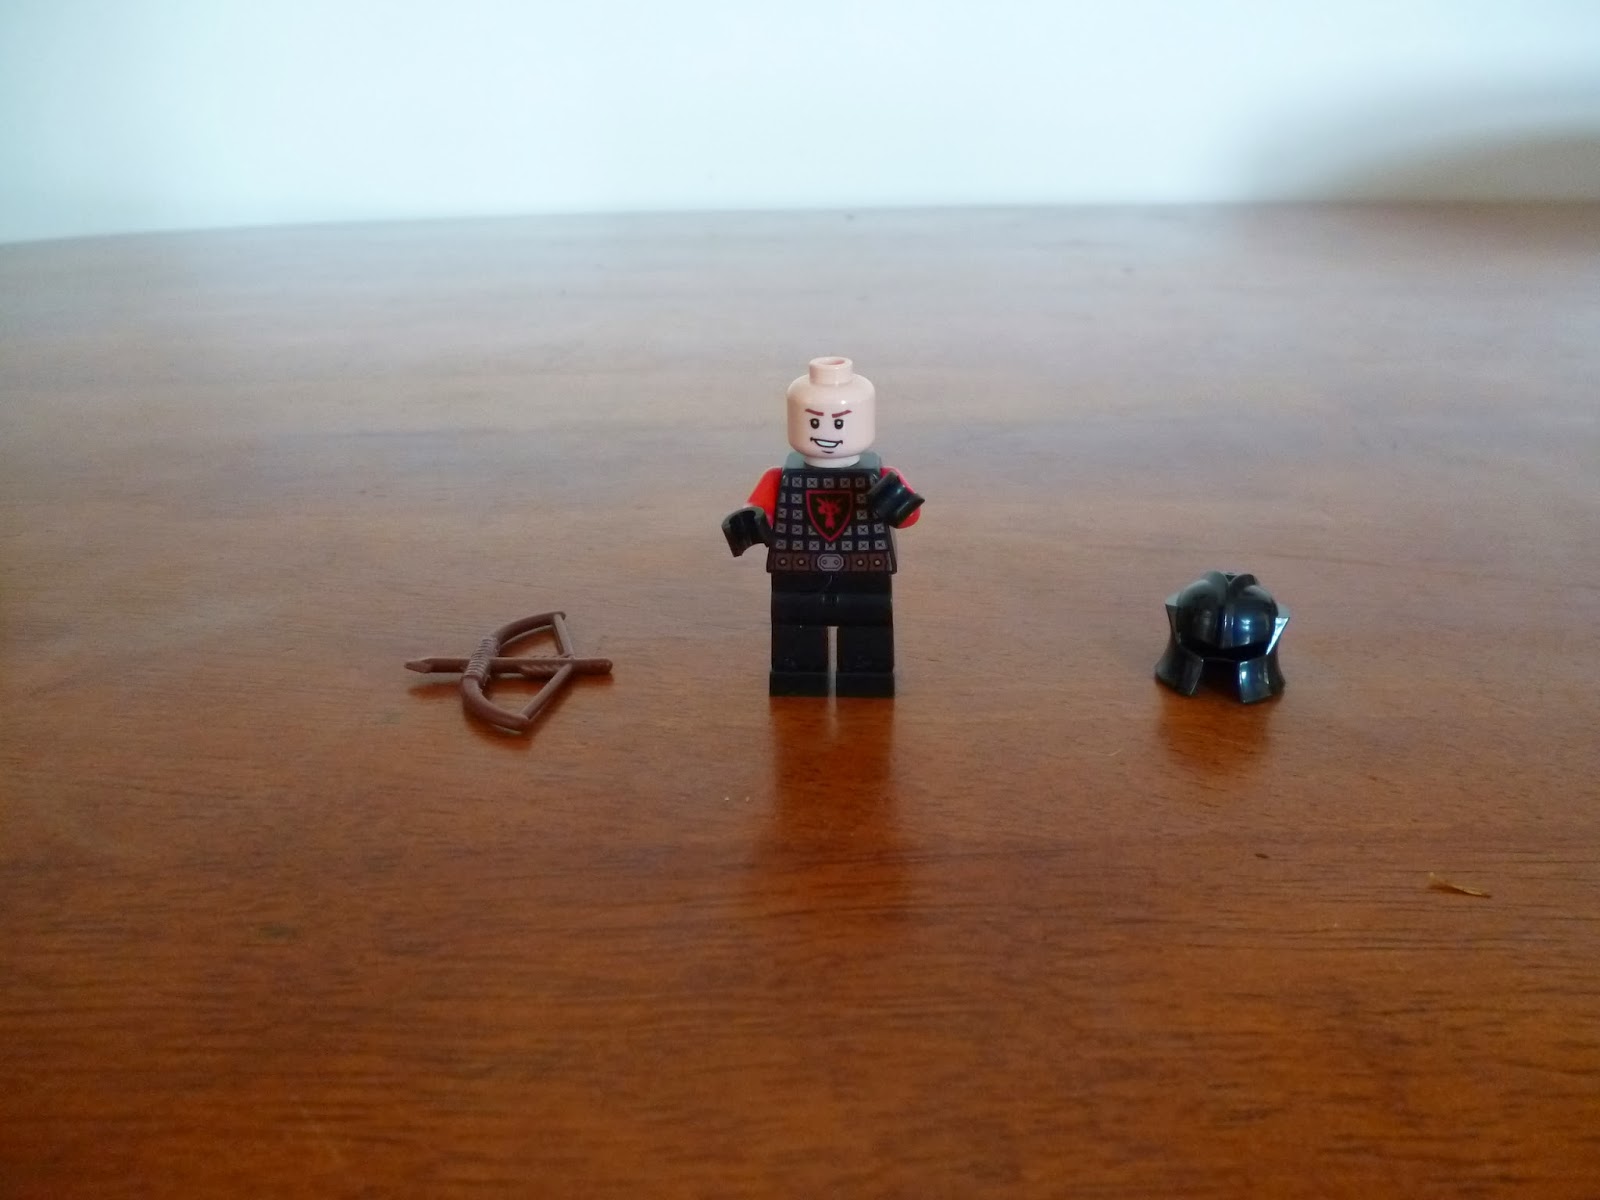
The archer has quiver of arrows and a bow. His helmet I think looks like a sun hat.


The foot solder has a triangle shaped helmet with nose guard and also a sword and shield 


Then there is the lord, he has a beat up sword and a fancy chest plate along with a helmet. 


The blacksmith has a hammer and a bit of stubble.


THE EVIL GUYS.
The archer has no quiver but still has a bow. My favourite thing is his helmet which is very cool.


This sword-man is a smiley happy guy  but a master sword-man so look out!


The evil Lord: The surly evil Lord is a machine with his double battle axe and a reasonable good horse rider.


THE CASTLE.

This is the home of the good guys. THe curved battlements were really tricky to build but in the end we managed it with lego hinge pieces. 


The gate is a basic structure but the gate door came in the Lego set "Gate House Raid".


 The windows were cool to build and the sloped roof area was a great detail in my opinion. 


All in all I really liked this Lego build. It was very fun building with my Mum because she is wonderful (and might have been the one to help type all this out and "proofread").

Sunday, 30 June 2013

The Black Gate


Hello I am talking about my new Lego set. This is called The Black Gate, this is a Lord of the Rings set.

There are 4 functions in this set. The first one is the moving doors.

The second is the lock on the doors.

and the catapult.

and the last is the secret door.

This photo shows the interior of the castle, guards can stand on the gate or hang out in the tower rest area or man the catapult or be the archer on guard.

On the tower there is a place for orcs to stand guard and do their rounds. This is on either side.

My favourite part would be the fact that if you buy two of this set you can connect them together and make the set a lot bigger but that is at the price of 240 dollars so I can not see that happening. You can see here that I made my own version of this extra tower on the right. My other favourite bit is the locking door and the great eagle.

Monday, 27 May 2013

Greek Temple


Today I would like to talk about my Greek temple.


It took 1 hour to two hours to build.


The most common piece was a 2 by 2 and flat tiles. I have made 4 models of this temple but this is the final design. On the inside is gold plate for offerings to the Gods.


Tuesday, 2 April 2013

Centaurs


A few days ago I finished watching a movie with centaurs in it so I created a few.

And here they are:


Saturday, 9 February 2013

A Hobbit Hole

Today I am going to talk about the front half of my hobbit hole.


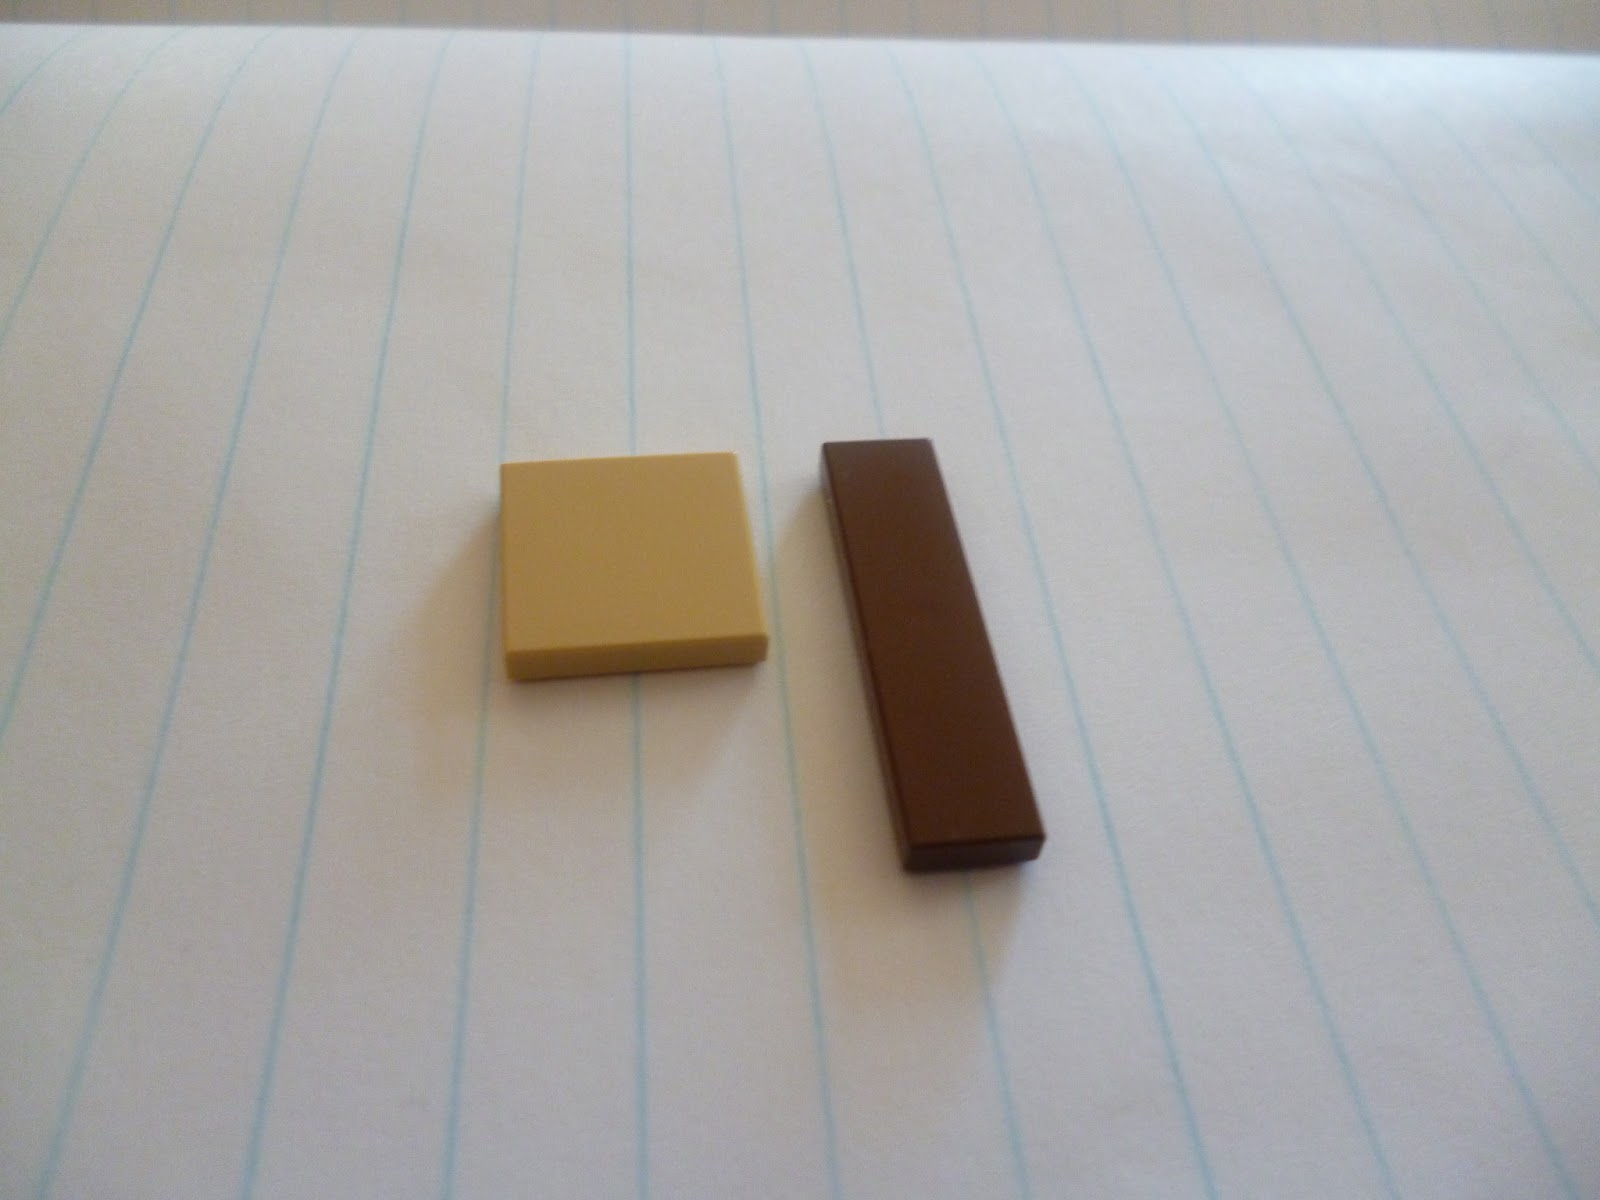
My favourite bit is the door which opens outwards and closes inwards. It is made of 12 flat tiles:


These are the pieces you need to build it:


On the inside is a coat rack.


There is room for 3 hobbits. On the roof there is a tree. It is one of the best I have built.


By Jayzien.

Friday, 14 September 2012

Lego Lord of the Rings: Gandalf arrives

Hello everyone, 
                                                                                                                 
I would like to talk about Lord of the Rings: gandalf arrives. The characters are: Frodo and Gandalf. The set comes with a horse that can rear up on its hind legs and its head moves up and down. There is a snake that is actually a firework that explodes and turns into a dragon in the movie. It also comes with 2 sky rockets, one carrot and a letter. The letter is to Frodo from Bilbo and it is explaining some stuff and has the ring in it.

Gandalf has a beard that is a new Lego beard and a cloak that is gray. In the back of the wagon there is a barrel with fireworks and there is a bag for the carrot and the letter. Gandalf sits up front.

At the back of the instructions it has pictures of heaps and heaps of lord of the rings characters. My favourite would probably be Legolas, although I quite like Gandalf too.